
Sandra
Specialist @Snap2Pass
· 5 min read
How to Easily Turn Your Everyday Photos into Passport & Visa Photos with AI
⚠️ IMPORTANT DISCLAIMER: This article is for entertainment and experimental purposes only. We strongly advise against using AI-generated or modified photos for actual passport or visa applications. Most government agencies explicitly prohibit the use of AI-generated or manipulated photos, and submitting such photos could result in application rejection or legal issues. Always use professionally taken, unmodified photos for official documents.
This is a fun experiment showing how AI can transform casual snapshots into professional-looking portraits. While the results might look impressive, please note that these AI-generated images are not suitable for official documents. This guide is purely for educational and entertainment purposes.
Editing Prompt Used:
"Use this photo of mine and create a studio quality portrait photo of me looking straight into the camera."
While Grok 3 is powerful, you might sometimes need to tweak your prompt slightly or even run it more than once to achieve the best results. This guide will walk you through the process and show you how to further refine your output using our service at snap2pass.com for automatic cropping and expert validation.
What is Grok?
Grok 3 is an AI-powered assistant developed by xAI and integrated into the X (Twitter) platform. It not only answers questions and generates content but also features advanced image editing capabilities. By simply describing the edits you need—such as transforming a casual photo into a passport or visa photo—Grok 3 can adjust backgrounds, crop images, and enhance lighting to produce a professional-looking result. Whether you're looking to create a passport photo or a studio-quality portrait, Grok 3 makes the process quick and accessible. Visit grok.com to learn more about this powerful AI tool.
What is Grok 3 and How Does It Work?
Grok 3 offers an intuitive interface that allows you to upload a photo and provide simple, plain-language instructions for editing. Here's how it works:
- Access: Open Grok 3 via the X mobile app or website by tapping the Grok icon.
- Interface: Upload your photo using the attach-media button, type your instructions into the prompt box, and let Grok work its magic.
- Output: Grok processes your request and returns an edited image that's closer to passport/visa standards.
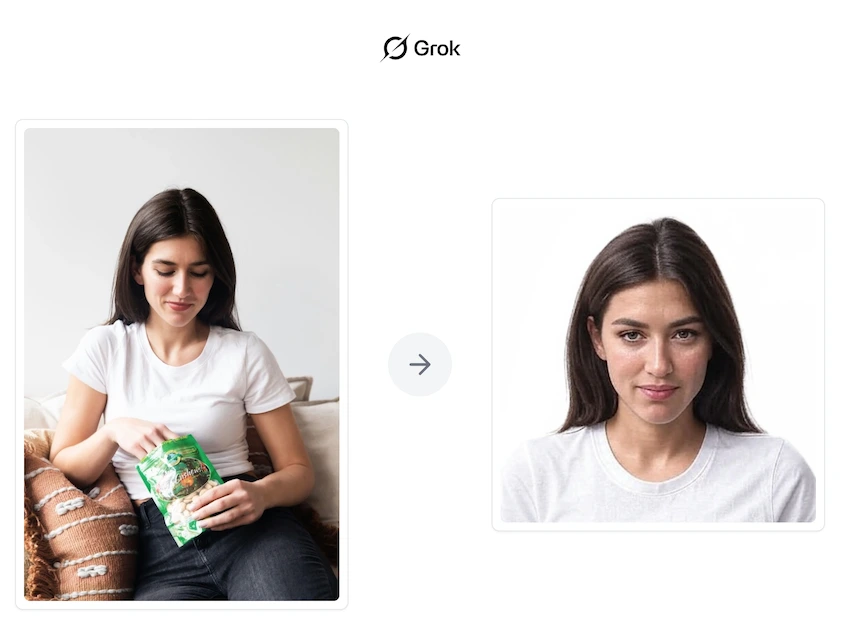
Step-by-Step: From Casual Photo to Passport/Visa Photo
1. Upload Your Casual Photo
Begin by selecting a photo from your camera roll. For example:
- Image 1 – Casual Photo:
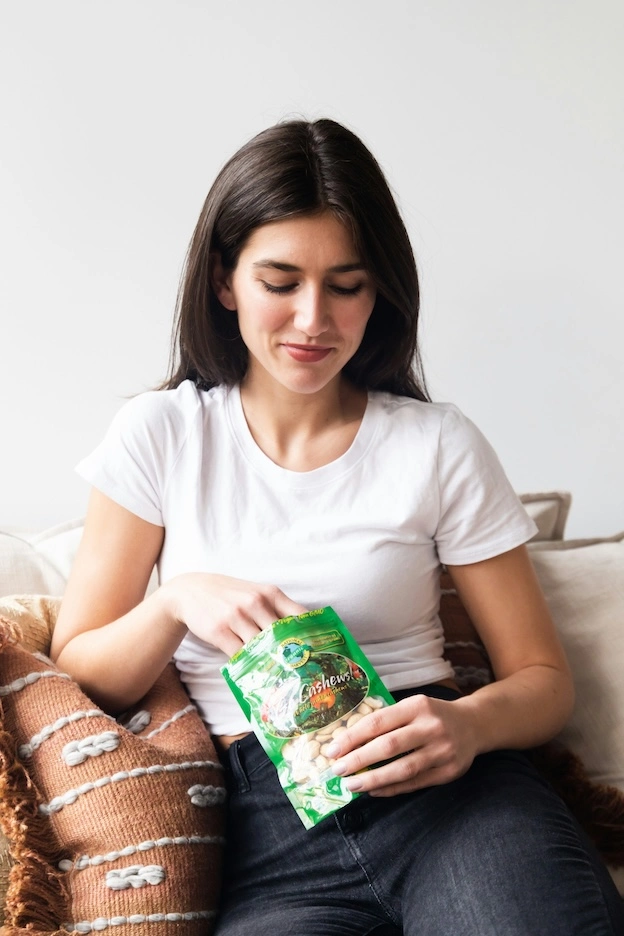
This is the starting point for your transformation.
2. Open the Grok Interface
Once your photo is ready, open Grok 3 and attach your image. You'll also see a prompt box where you can type your instructions. Check out this screenshot for guidance:
- Image 2 – Grok Interface with Prompt:

3. Enter Your Editing Prompt
Type in a clear, descriptive prompt. For instance, you might use:
"Take this photo of me and transform it into a studio-quality portrait where I'm facing the camera directly."
This tells Grok 3 to adjust the background, crop your head and shoulders, and modify the lighting for a clean, professional look.
4. Receive and Review the Output
After a short wait, Grok 3 will return the edited image. Here's an example of what the result might look like:
- Image 3 – Grok Edited Output:
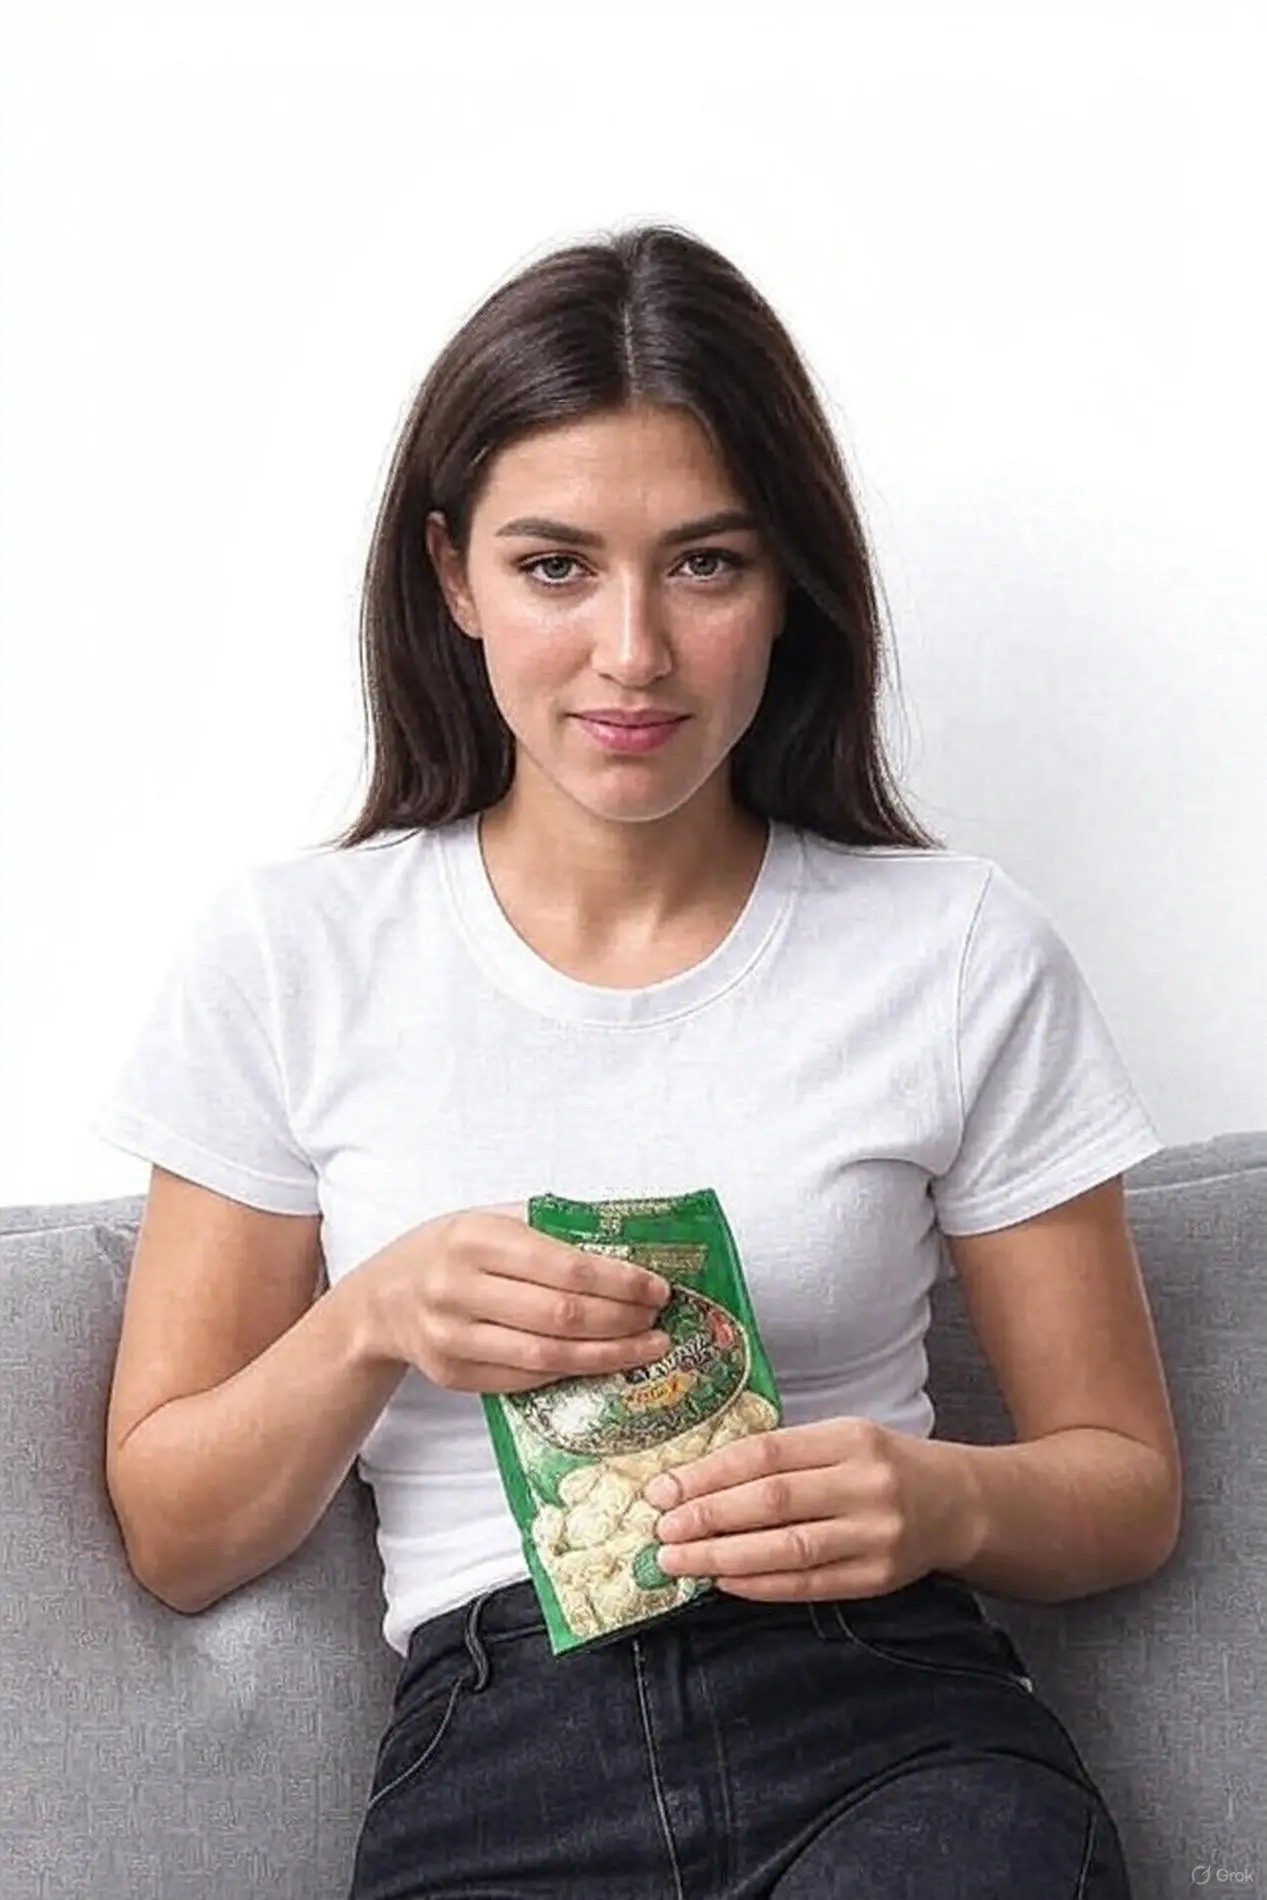
Even if the original photo wasn't ideal (for example, if your eyes aren't visible), Grok 3 can work its magic. However, for passport or visa photos, starting with an image where your eyes are clearly visible will yield better results.
Tips for the Best Results
- Start with a Good Base: While Grok 3 can transform almost any image, a front-facing photo with visible eyes and good lighting produces more reliable results.
- Tweak the Prompt: If the first result isn't perfect, adjust your wording. Sometimes a small change in the prompt or re-running it can improve the output.
- Multiple Attempts: Don't hesitate to try the prompt more than once if needed. Consistent refinements can help nail the perfect photo.
- Current Limitations: While Grok 3's image generation capabilities are promising, the current output quality may sometimes be inconsistent. The technology is rapidly evolving, and future updates are expected to deliver even better results.
- Important Note: Remember that these AI-generated images are for fun and experimentation only. They should never be used for official documents.
Enhance Your Passport/Visa Photo with Snap2Pass
For actual passport and visa photos, we recommend using our professional service at snap2pass.com. Our service automatically crops your photo to meet official standards and provides expert validation to ensure your image is compliant with passport and visa requirements. This way, you can be confident that your final photo will be accepted by authorities.
Creating Your US Passport Photo with Snap2Pass
For legitimate passport photos, follow these simple steps to get your US passport photo in under 3 minutes:
- Visit snap2pass.com
- Upload your Grok 3-enhanced photo
- Our AI will automatically crop and adjust your photo to meet US passport requirements
- Submit for expert review
Our expert team will review your photo within 15 minutes to ensure it meets all US passport photo requirements, including:
- Correct size (2 x 2 inches)
- Proper head positioning
- Appropriate lighting
- Background compliance
- Expression and pose guidelines
Within 15 minutes, you'll receive an email with either:
- Your approved passport photo ready for download
- Clear instructions on how to fix any issues with your photo
Snap2Pass Output Example
Here's what your final passport photo will look like after Snap2Pass processing:
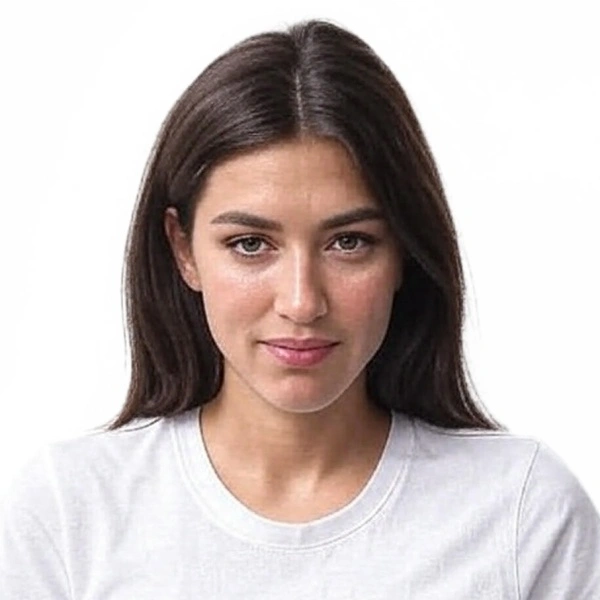
The processed photo will be:
- Perfectly cropped to 2 x 2 inches
- Optimized for passport requirements
- Ready for immediate download and printing
By following this guide, you can experiment with transforming casual snapshots into AI-generated portraits using Grok AI 3. Remember, this is just for fun and educational purposes. For actual passport or visa applications, always use professionally taken, unmodified photos that comply with government requirements.